There are many types of vinyls and many types of surfaces on the market. Each combination has its own placement technique. Keep in mind that a vinyl is like a giant sticker and that it requires a little skill so that you do not get bubbles, so that it does not wrinkle and so that it sticks well. Here we will explain the most common techniques and tricks so that you lose your fear of vinyl.
Before you start laying the vinyl
First of all, make sure you have the essentials to place the vinyl on hand: a spray bottle with water and a drop of soap, masking tape, a VISA-type plastic spatula or card, a clean cloth, pharmacy alcohol and the vinyl itself.
We can start now
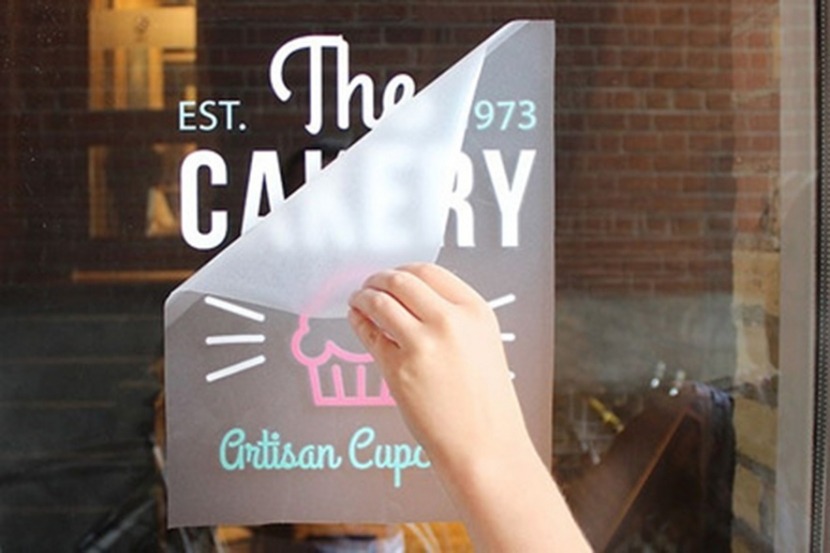
The first example that we propose is that of a printing vinyl placed on a surface that can get wet, such as glass. Do you know what a printing vinyl is? Here you will find all the information about printing vinyls.
First clean the area where the vinyl is to be placed with pharmacy alcohol and a clean cloth to remove the remains of dust, grease, glues, etc. Attention! Avoid using cleaning products with ammonia. The masking tape will help us to mark a straight guide where we will place the vinyl. With the sprayer (mixing soap and water) we will wet the surface. Then place the vinyl upside down, that is, with the vinyl side glued to the surface and the silicone paper on the outside. Once in place, peel off the silicone paper from the top tip and slowly pull diagonally to completely remove the silicone paper. Re-spray the adhesive part of the vinyl with water. You turn the vinyl over, place it on the surface in the place where you marked with the masking tape and with the spatula remove the water from the inside out. When you finish, dry the entire area avoiding scratching or leaving scratches.
If you found the explanation a bit confusing, here you will find a much more graphic explanatory video.
More difficult still: laying a vinyl without water
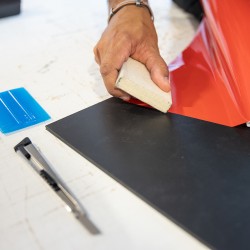
But not all surfaces can get wet. How do we put a vinyl on a wall or on a wood? We will do it dry, that is, without water. The process is very similar but more delicate since the water allows us to stick and detach the vinyl without deforming it. Imagine that we want to place a cut vinyl of a die-cut color (here you will discover everything about cut vinyl) on a wooden table. First we clean the surface to remove dust and impurities. We raise the vinyl on the surface and with one end glued, we slowly place the vinyl with the spatula.
The damn bubbles
One of the most common headaches in vinyl placement is the appearance of bubbles. If we apply the vinyl with water it is easy to remove them since the water repositions the vinyl easily. With dry vinyls things get complicated. If bubbles appear, you can remove them by applying a little heat with a blow dryer or lighter or by pricking them with a needle. Then smooth the vinyl with the spatula being careful not to wrinkle or pinch it.
The infinite world of vinyl
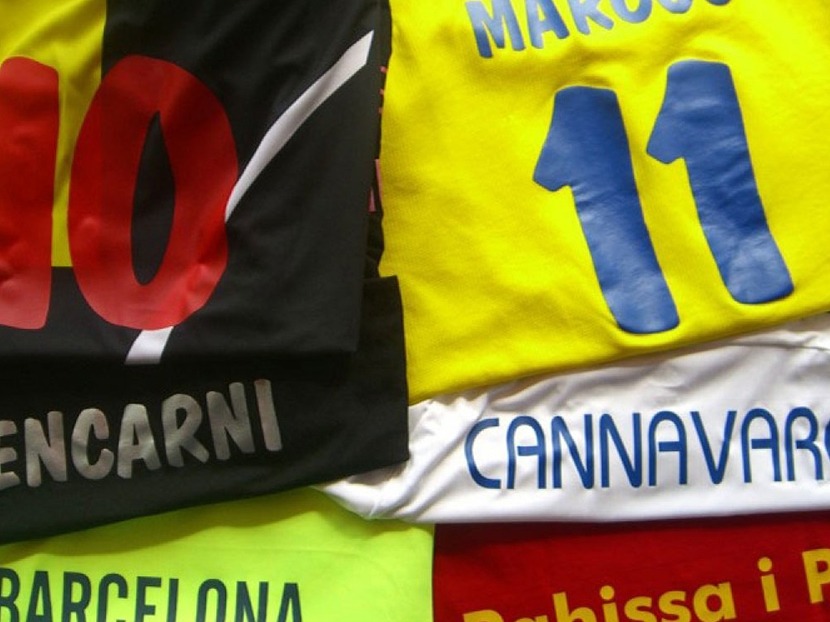
In this blog we have explained the basic tricks to place the most common vinyls on the market. But each vinyl requires a different technique. There are micro-perforated vinyls, translucent vinyls, reflective vinyls, glazed vinyls, vinyls for vehicles, vinyls for whiteboard or Velleda blackboard... and each one has its own tips and recommendations.
Do not despair if it does not come out the first time since the placement of vinyl requires a bit of practice. If they are small, you can install them yourself, but on large vinyl you will surely need help. At Gràfic Centre we have a team of expert sign makers who will ensure impeccable placement so that your windows, shop windows, tables or walls look like never before.
Related posts

How much does it cost to print photos? What measures are there? And what kind of papers?
In the era of digital photography it is also possible to have your photos on paper. You have different options of measurements, papers, prices ... We give you all the details so that your favorite photos look as they deserve

What is the difference between a laminate and a laminate?
Laminating or laminating is the best way to protect your documents. We explain the main differences.